Laser Engraver
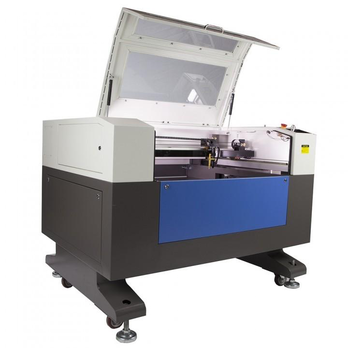
The laser engravers in our lab are used for many things for engraving water bottles for the school store, to engraving names into push sticks for the Woods classes. But in our IDEA class, we really use the full extremities of the laser engraver, to make keychains, personalized water bottles, to custom notebooks, and even pieces that are put together to create a 3-D object. The laser engraver used a CO2 powered laser to burn cuts and burn engravings into all sorts of items from plexiglass to wood, to cardboard. The laser in precise enough to engrave minuscule details into foam, but still powerful enough to cut through wood slabs.
We had three assignments with the laser cutting machine. Our first assignment was to create a notebook cover and back out of a mat board material.
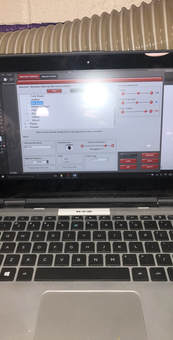
The image to the right is the setup for the mat board to be cut with the laser cutter. You need to set it up specifically for everything you cut, with the material type, the size of the material, and how its set in the machine. This is so the machine knows how much power to put out for every engraving and cut it makes.
|
|
|
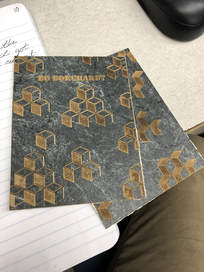
For my notebook, I did a similar design on the front and the back, as you can see in the image on the left. I did by back first, without my name on it, and had my initial cubes on that design, but after it printed, i edited the designs of the cube shapes a bit and added in my name for the front of the notebook. To begin this project I make my file the desired size of the notebook and added red box along the outer edge of my workspace to cut it out. Then I designed the cubes from a design I had drawn in a previous art class, that i had taken a liking to. Then I went and added some different colors and left one empty, to try and create some difference between the three squares. I used that for the back side, so I took it down to the laser, on a flash drive, and set up the laser to cut through the thickness of the mat boards that I selected and measured. After I allowed that to cut, i went back and slightly modified by cubes to be a bit different and more noticeable, and rearranged them to be able to add my name for the front cover of the notebook. One I had that finished, i took this one down again on my flash drive and set the computer up the same way I had for my first design, and cut it out. After this, I took my two finished pieces, and cut the holes for the binding of the book, and string the binding into it after adding pages in-between, and then my notebook was finished.
|
Our second project was to create something to cut out with the laser that would create a 3-D object. This one we were able to use something we found on the internet, so I made the tardis from Doctor Who, that I found on thingiverse.com
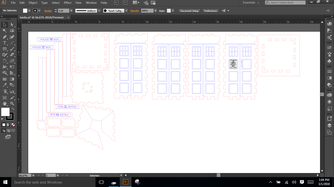
This is how the file showed up when I opened the file that I had downloaded, so all i had to do was put it on my flash drive and take it down to the laser.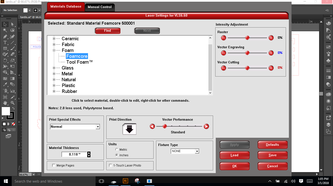
This was the setup for the foam core (cardboard) that we used, set the foam core and what I measure the thickness to.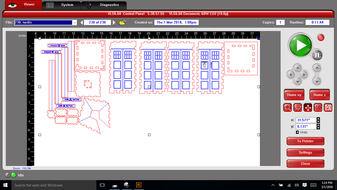
This is how the file looks once you've opened it in the printing platform, and have set up all of your settings. The red lines signifying cuts, and the blue ones being engravings. |
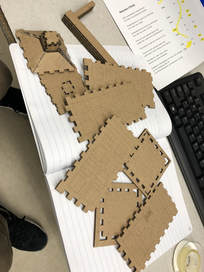
This is what all of it looked like after being cut out in the laser.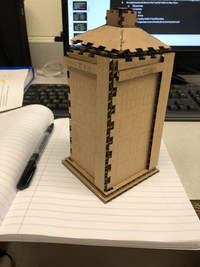
This is the finished product, all put together after being cut and pieced together. |
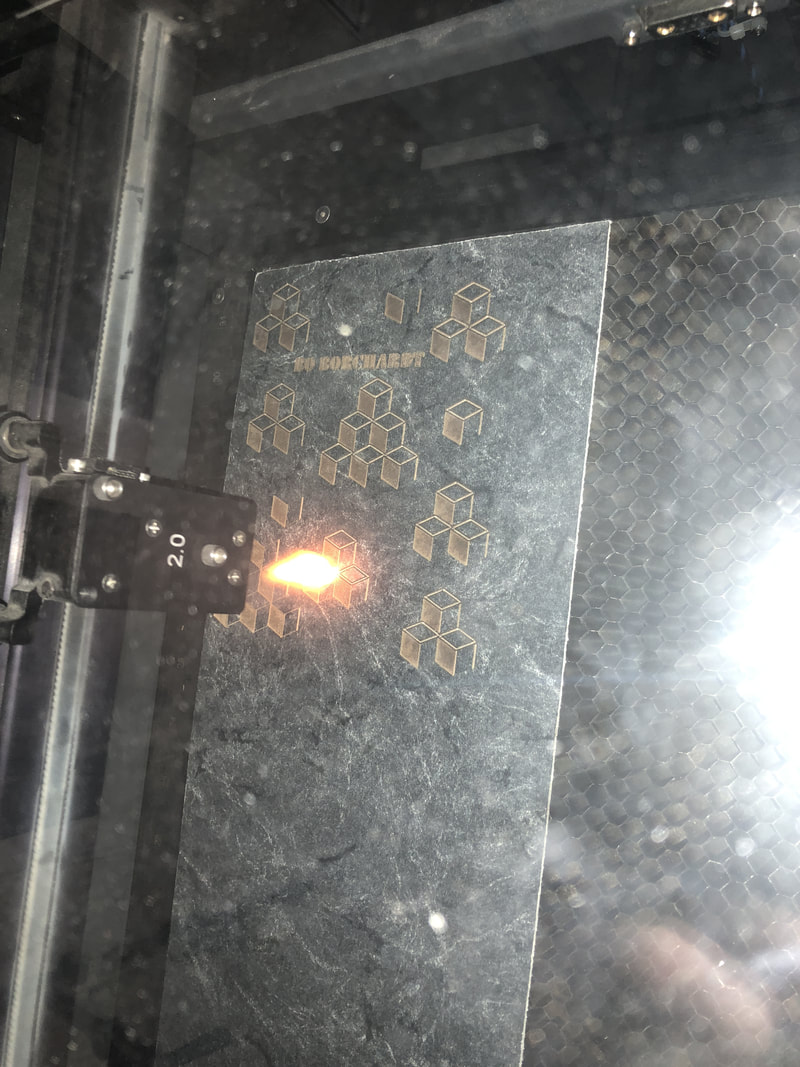
Our final project for the laser cutter was to use the rotational jig instead of the metal hex-patern bottom, to engrave a design onto a water bottle.
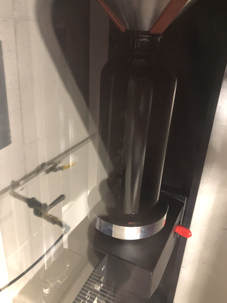
Here's my bottle in the rotational jig in the laser, as its being cut
|
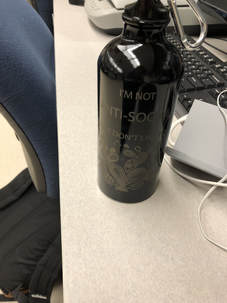
This is my finished water bottle
|
For the water bottle, I found a design I liked on the internet, and outlined it and pasted that into my workspace in Illustrator, and then searched for some school appropriate funny phrases and found one I liked and typed that into my workspace also to be put not my water bottle. Since were not trying to cut through anything I just did all of my work in a black font. I thought it looked good with just the design and the phrase, so I put it on my flash drive and took it down to the laser. Once I got down there I had to take out the metal tray and replace it with the rotational jig to put my water bottle into. Then I put he water bottle into it, loaded my document for engraving, and changed the setting to aluminum, and changed the platform to rotary jig. Once i had it all set up I pressed play on the engraving page, and the laser went to work and engraved my design beautifully into this water bottle.
